Step 1: Charge Your Device
Before you do anything else, give your battery a full charge. While many kits come with some charge out of the box, a full battery ensures you get the best performance from the start.
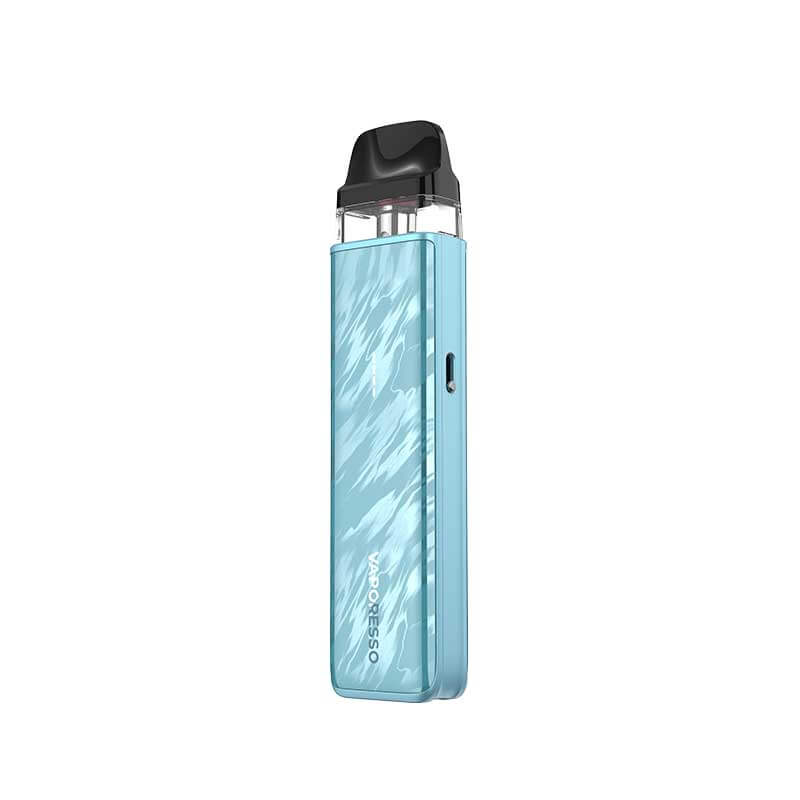
- Use the Right Cable: Almost all modern kits (like the Vaporesso XROS or OXVA Xlim series) use a USB-C cable, which is usually included in the box.
- Check the Light: Plug it in and watch the LED indicator. It will usually pulse or change colour (e.g., from Red to Green) to let you know when it's fully charged.
Step 2: Fill Your Pod
While the battery charges, you can prepare your pod. This is the plastic cartridge that holds the e-liquid.
- Locate the Fill Port: On most pods, this is a small rubber bung on the side. On some "top-fill" pods, you snap off the black mouthpiece to reveal a hole.
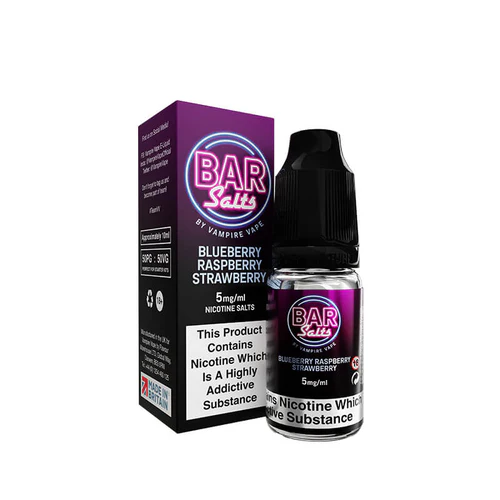
- Open & Fill: Lift the rubber bung or remove the cap. Insert the nozzle of your e-liquid bottle and squeeze gently to fill the pod.
- Don't Overfill: Leave a tiny air bubble at the top. This helps the liquid flow properly.
- Seal It Tight: Press the rubber bung back in firmly to prevent leaks.
Step 3: The "Golden Rule" (Priming the Coil)
This is the single most important step. Do not vape immediately.
Inside the pod is a coil of wire surrounded by cotton. When the pod is new, that cotton is bone dry. If you vape now, the hot wire will burn the dry cotton instantly, ruining the pod and giving you a nasty "burnt toast" taste.
- The Fix: Once you have filled the pod, let it sit for 5 to 10 minutes. This allows the e-liquid to fully soak into the cotton wicking. This process is called "priming."
Step 4: Insert and Vape
Once your 10 minutes are up and your device is charged:
- Insert the Pod: Drop the pod into the top of the device. It usually clicks into place magnetically.
- Turn It On: If your device has a button, click it 5 times quickly to turn it on. (Many simple kits don't have an on/off switch and are always ready).
- Inhale: Most starter kits feature "Auto-Draw." This means you simply inhale on the mouthpiece like a cigarette, and the device will automatically create vapour.
- Adjust Airflow (Optional): If your device has a small slider on the side, move it to change how "tight" or "loose" the draw feels.
The Even Easier Option: Prefilled Pod Kits
If filling a pod feels like too much hassle, you might prefer a Prefilled Pod Kit.
These devices (like the Elf Bar Elfa Pro or SKE Crystal Plus) work exactly like a refillable kit but use sealed pods that come pre-loaded with e-liquid.
How to Use: Remove the silicone stoppers from the new pod.
Crucial Step: If the pod has a "push" base, press it firmly to break the freshness seal. Wait a few seconds for the liquid to settle, insert it into the battery, and vape. When it's empty, you just throw the pod away and click in a new one. Many newer, high-capacity “Big Puff” vapes often employ a 2ml+10ml refill pod configuration. Follow the instructions provided, but the same priming method applies; allow the liquid to flow between pod and refill, and saturate the coil, before vaping.
Troubleshooting: What If It Goes Wrong?
- My vape tastes burnt: You likely didn't wait long enough for the liquid to soak in (Step 3), or the pod is empty. You will need to replace the pod or coil.
- My vape is "gurgling" or spitting: You might be inhaling too hard, or the battery is low. Charge the device and try taking gentler, longer puffs.
- It won't fire: Check the device is turned on (5 clicks) and that the pod is pushed all the way down. If the LED flashes red, it needs charging.